How to enable locations in QuickBooks Online
For location support in the Synder app you should first make sure they are enabled in your QuickBooks company. Please follow the instructions below to enable locations in QuickBooks:
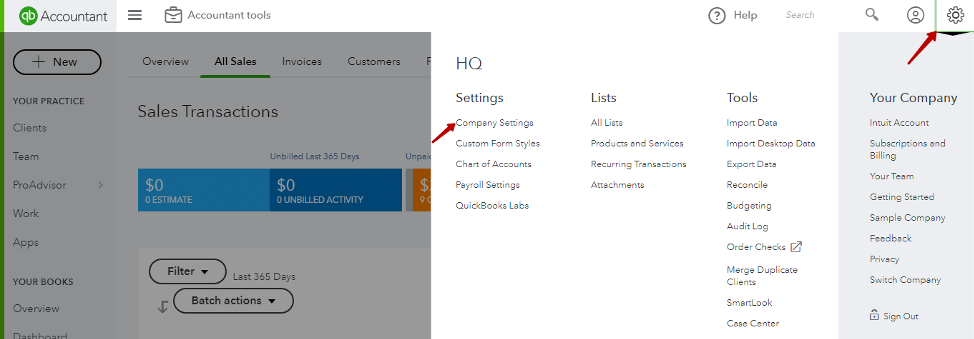
1. Log in to QuickBooks Online. Press the gear icon in the upper right corner of the screen and press Company Settings.

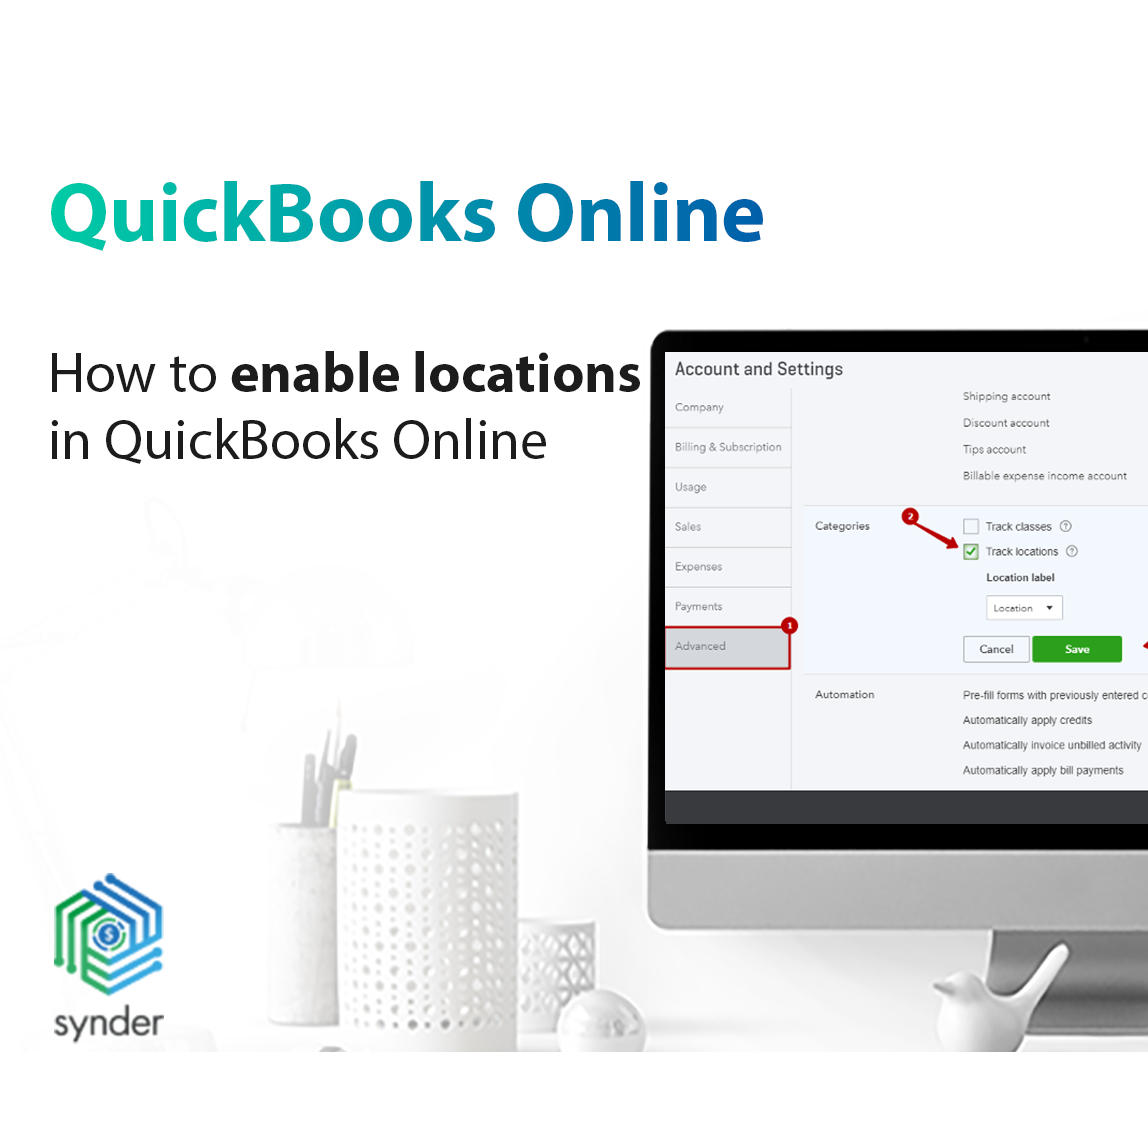
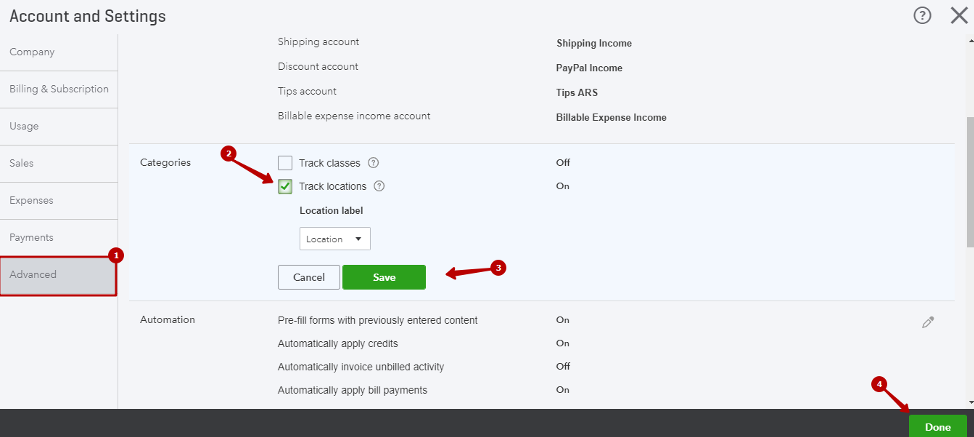
2. Go to Advanced tab, then click on the Categories and tick Track locations. Press Save, then Done button.
Note: Alternatively Categories can be in the Company tab.

After you enabled locations you will be able to set up locations in your QuickBooks account and they will be available for you in Synder app settings.
Congratulations!
In case of any questions feel free to reach out to us, our support phone and email are specified in the footer of the page, and online support chat is available in the app bottom right corner.
IN QB Online, Company Settings/Advanced, there is no “Categories” item. So I can’t enable locations. We are using QuickBooks Essentials (on-line).
Hello Dixie, Thank you for checking in! In your version of QuickBooks Online the locations might be under Company tab in settings (as opposed to Advanced tab), please check this option out and let us know if that helps. Thank you!