To export and import Accounts in your QuickBooks Online company profiles, follow simple steps:
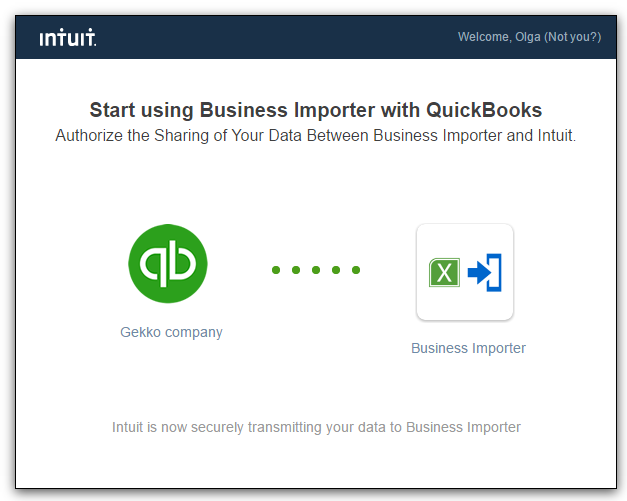
Step 1. Go to your old QuickBooks Online company profile and connect it to Business Importer.
Step 2. In Business Importer go to Export – Select Entities. Choose the Company and Entity (in this case, Account).
Step 3. When the list of all your accounts appears on the screen, click on the button Export all – Export to Excel. And confirm the action.
You will receive the Excel file (CSV) to your e-mail or you can download it at Export – Results.
Step 4. Go to your New company’s profile in QuickBooks Online and connect it to Business Importer.
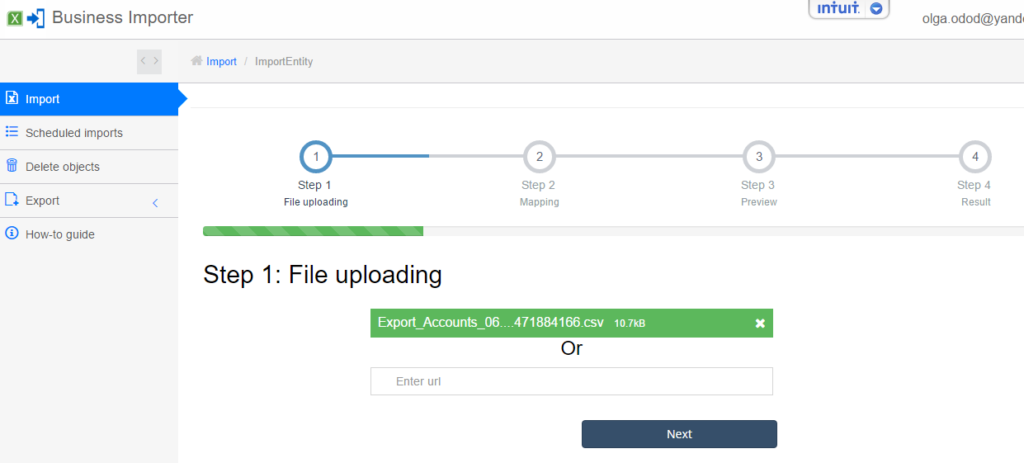
Step 5. Go to Import and Start new Import:
1. Upload your File with accounts (that one you exported at Step 3)
2. Create mapping.
3. Start import and check the results.
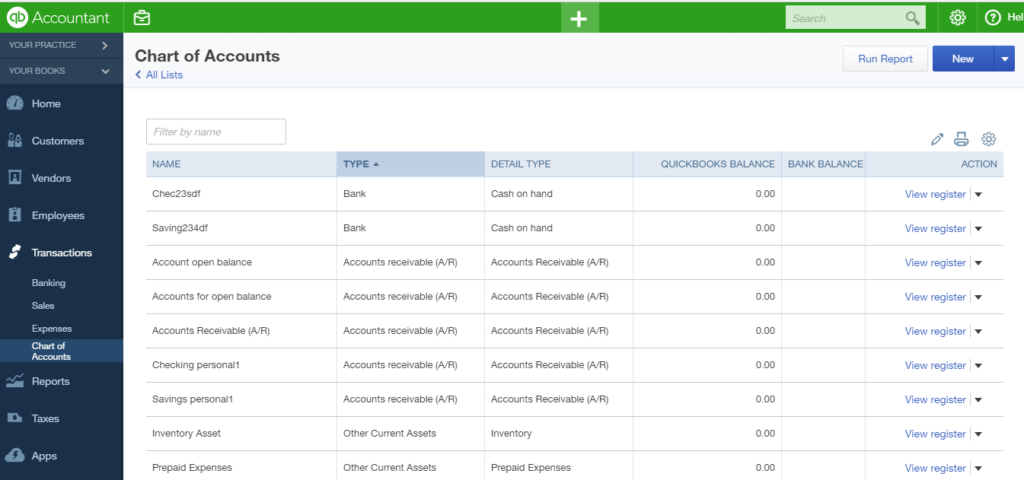
Your accounts migration is ready. Check if all accounts are migrated correctly to your new QuickBooks Online company’s profile.
Remember, that any question you can address us. We will be glad to help you!
Just leave us a message, call us on (469) 629-7891 or write to support@cloudbusinesshq.com.


Comments open