
Full Bill to Purchase Order link
● It should have the same Bill Ref/Doc numbers for each line of Bill you would like to be joined during the import;
● It should have “Linked PO Number” columns filled in with PO numbers from your QuickBooks.

Step 1:
Select your import file and sheet in case you have several, and set Bill transaction type for import.

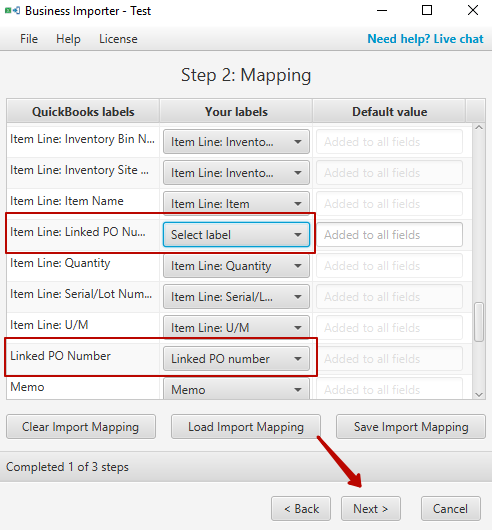
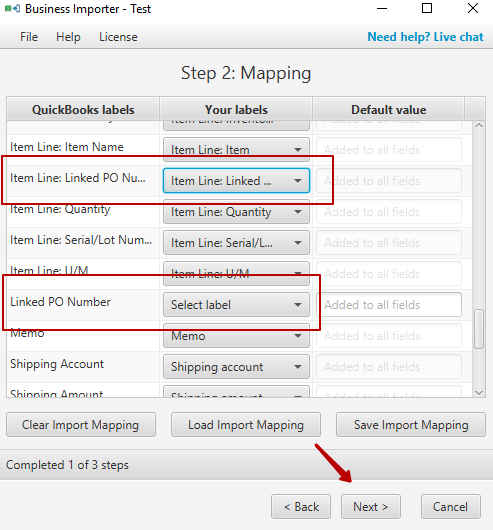
Step 2:
Map (connect) QuickBooks fields with the headings of the columns from your import file.
Note: Red fields are required. You can also save the mapping for all subsequent imports, if needed, clicking Save Import Mapping button.
Note: make sure you have mapped “Linked PO Number” field, and “Item Line: Linked PO Number” is not mapped.
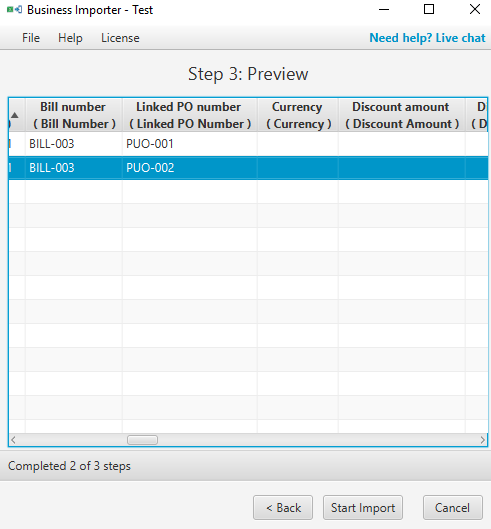
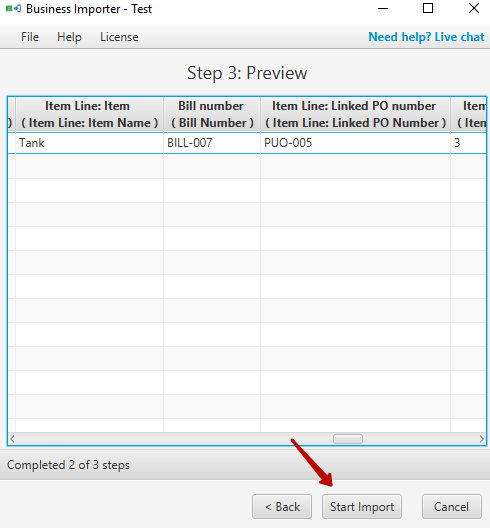
Step 3:
Preview your file clicking Next to make sure you mapped all you wanted and then click Start Import to initiate the import.
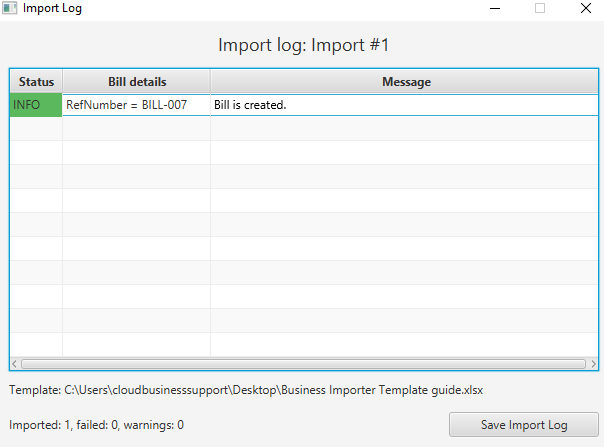
Import Results
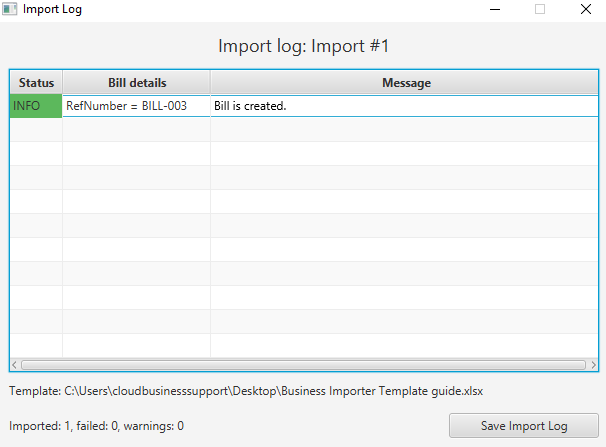
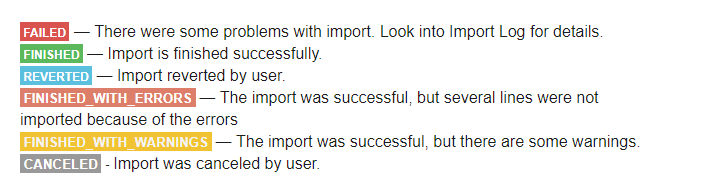
Possible variants of results in the app
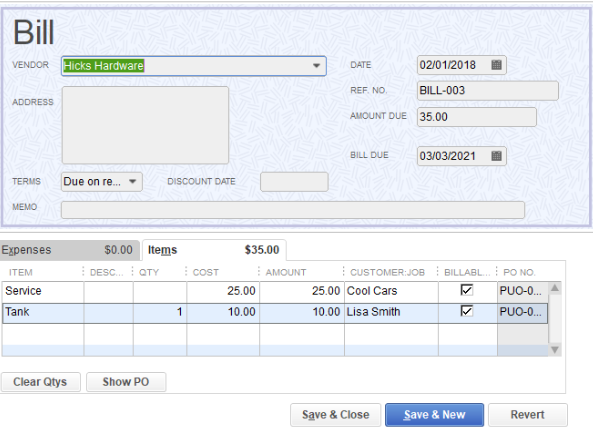
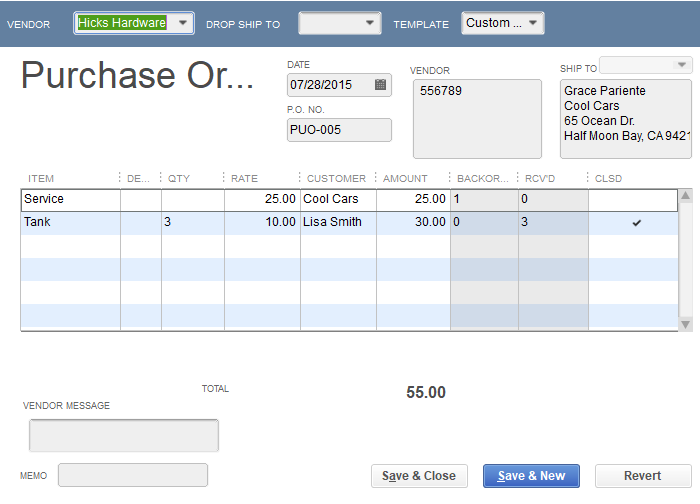
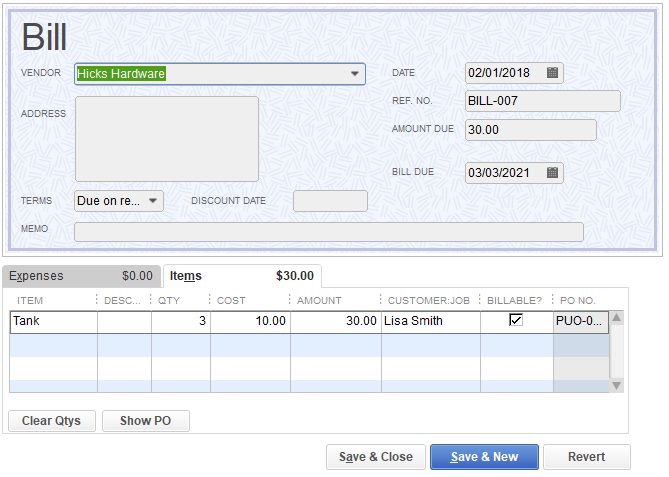
Results of the import in your QuickBooks
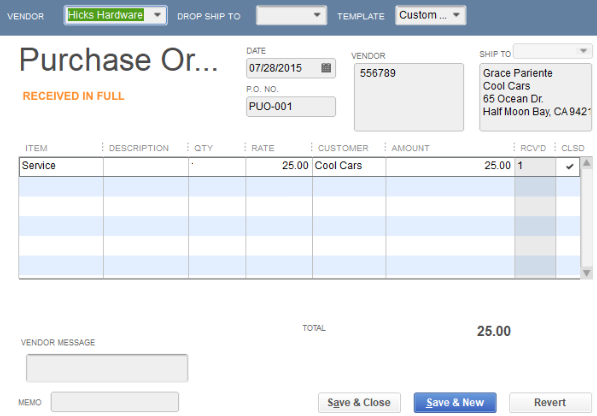

Bill
Partial Bill to Purchase Order link
Make sure you set up the import file correctly:
● It should have “Item Line: Linked PO Number” column filled in with PO numbers from your QuickBooks;
● Make sure you have mapped fields Item Line: Item name and Item Line: Quantity

Step 1:
Select your import file and sheet in case you have several, and set Bill transaction type for import.
Step 2:
Map (connect) QuickBooks fields with the headings of the columns from your import file.
Note: Red fields are required. You can also save the mapping for all subsequent imports, if needed, clicking Save Import Mapping button.
Note: make sure you have mapped “Item Line: Linked PO Number” field, and “Linked PO Number” is not mapped.
Step 3:
Preview your file clicking Next to make sure you mapped all you wanted and then click Start Import to initiate the import.
Import Results
Possible variants of results in the app
Results of the import in your QuickBooks
Comments open