
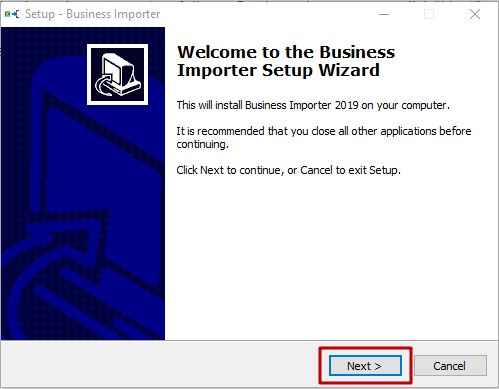
BUSINESS IMPORTER:USER GUIDE
STEP 1. Connect the applications
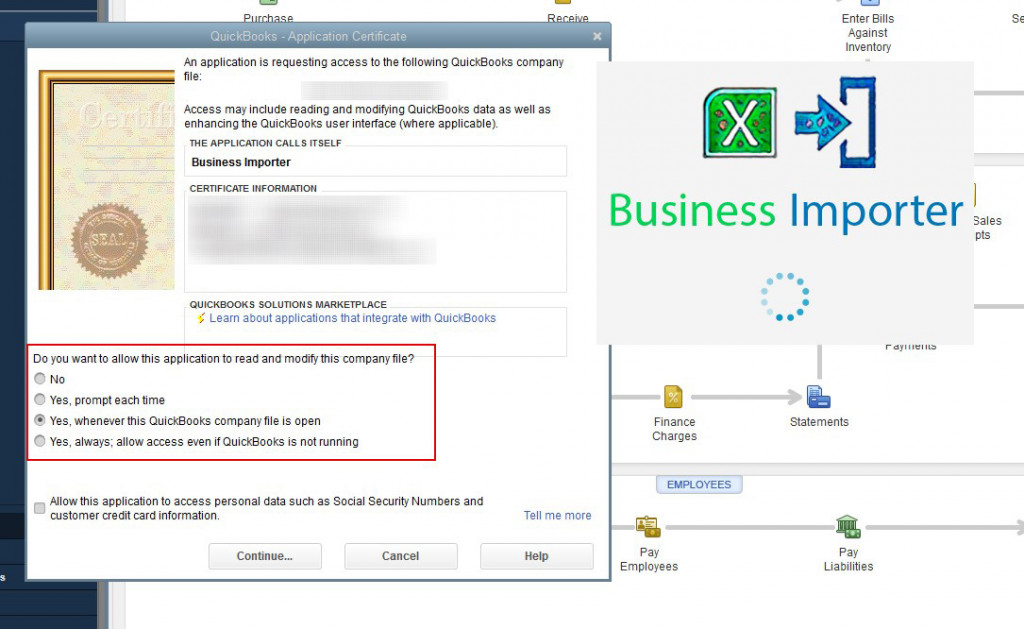
Run QuickBooks Desktop on your system, then run Business Importer. On first connection, our application requests access to the QuickBooks. Give the corresponding permission.
Note: we recommend setting value “Yes, whenever this QuickBooks company file is open”.
STEP 2. Select your file and entity/transaction
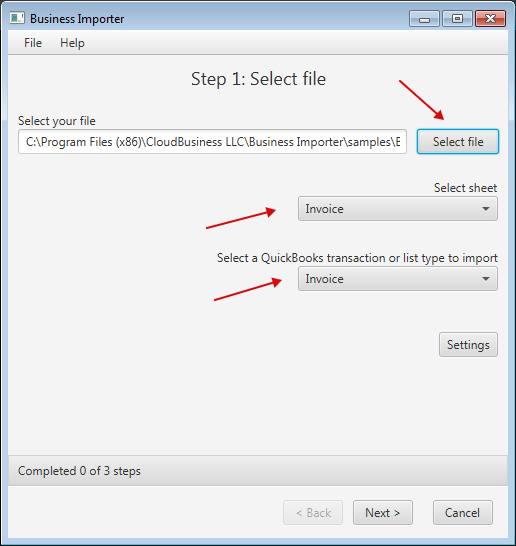
When Business Importer is authorized you will see the first step of the application “Select file”. On this step, you should select file with your data (*.xlsx, *.csv), select sheet you want to import and select entity.
STEP 3. Mapping
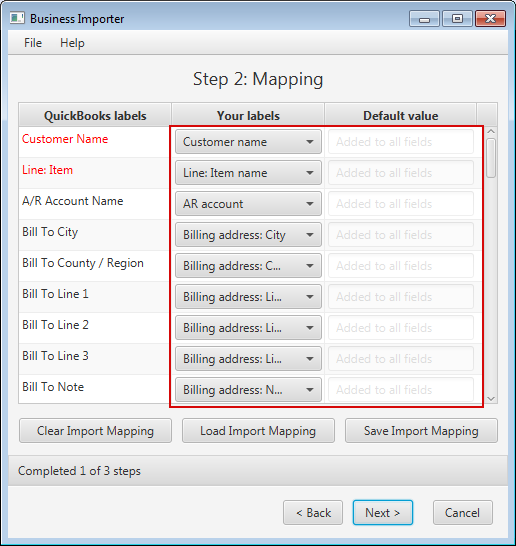
On “Mapping” step you map columns from your file to QuickBooks fields. For this you need to choose label of your file from dropdown or set manual value that will appear in all selected fields. To simplify this process for future similar mapping you can save import mapping as separate file. Just click “Save Import Mapping” button and set name of your mapping. Next time just select your import mapping to map all fields automatically. Fields that are highlighted in red are required.
STEP 4. Preview
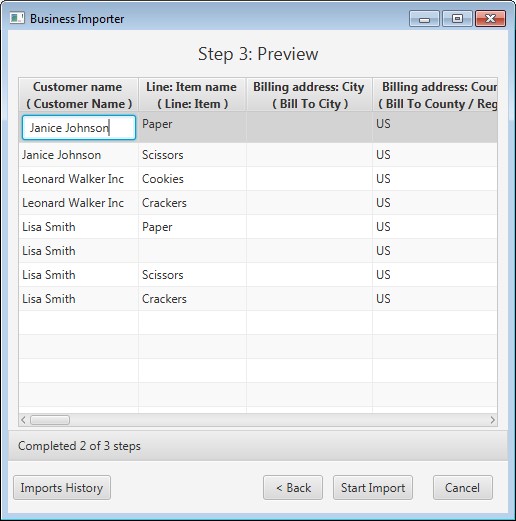
On “Preview” step you can see your data that were mapped to QuickBooks fields. On this step, you have opportunity to edit value in rows by double clicking over the corresponding cell.
STEP 5. Import process
You don’t need to wait, when import is finished, you can start another import and Business Importer will import your data in parallel and notify you by adding a notification on bottom right of your screen.
In Import Log window, you can see detail information about your import. As you can see import was executed successfully.

Comments open