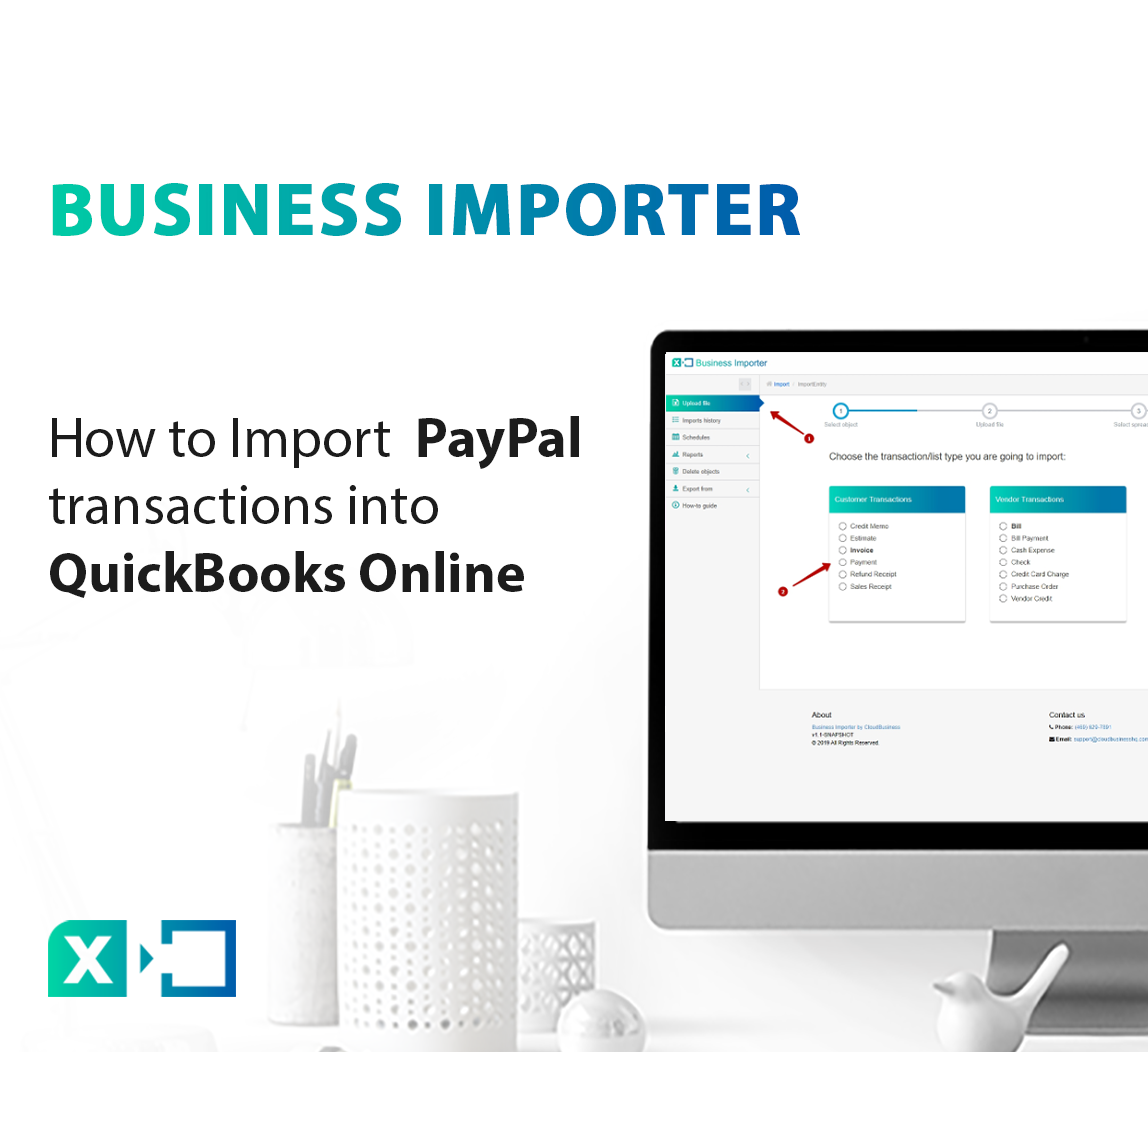
Import PayPal transactions into QuickBooks Online
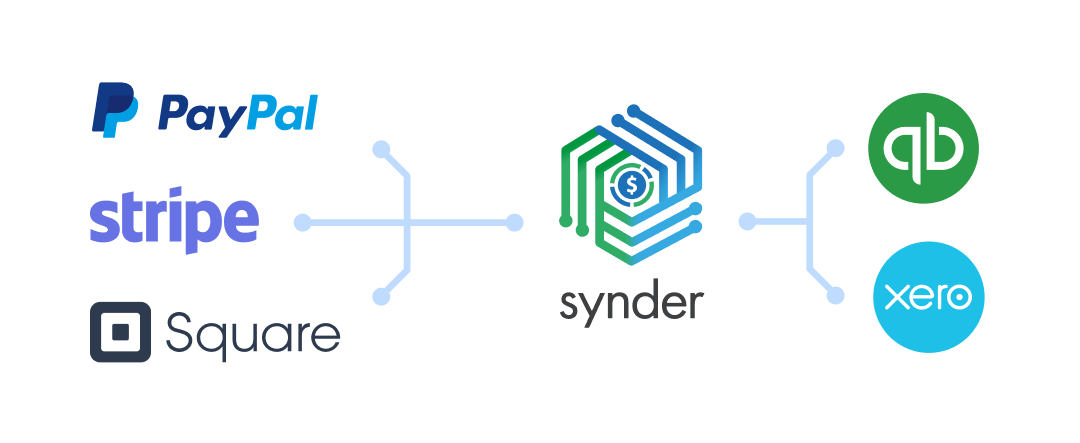
Automatic import: before you read this guide, check out our Synder app that will automatically record all of your Stripe/PayPal/ Square transactions into QuickBooksⓇ Online with no manual work from your side!
Manual import: using the guide below you will be able to download your PayPal payments data into .csv or Excel file and import it into QuickBooks Online in a couple of clicks using Business Importer.
Overview:
Export PayPal data to Excel
Here are the steps of how to export your data from PayPal in order to import it in QuickBooks Online (QBO).
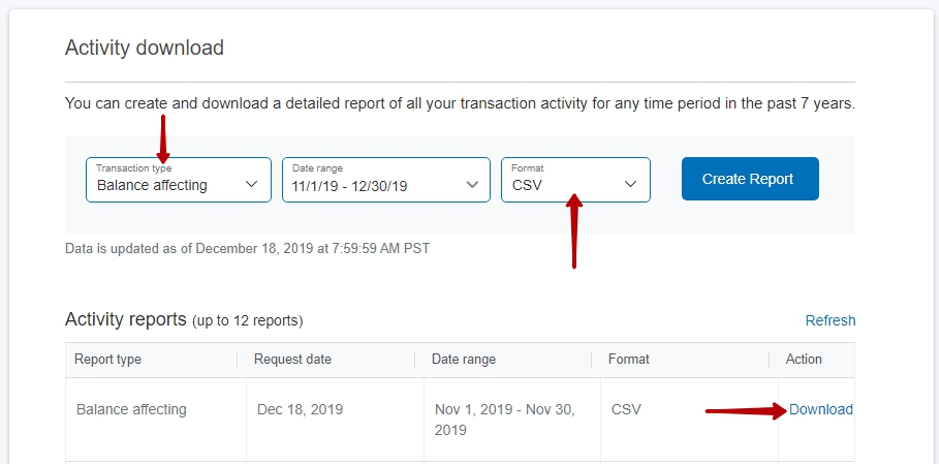
1. Launch your PayPal account to start the download process of your payment data — follow the path: Activity => Statements => Custom
2. The activity download page will open where you want to select the balance affecting transactions, time range for the transactions to get exported from and the format of the file. The CSV format should be selected.
3. Clicking Create Report will generate a list of the transactions that you can get onto your computer by clicking the Download button.
4. Now you have your import spreadsheet. To get it ready for import, make sure you separate the data to different sheets based on the transaction types (expenses to one sheet, sales receipts to another and so on).
Upload PayPal data into Business Importer
1. Sign in to Business Importer, make sure QuickBooks company is connected to the app and click Upload on the left-hand menu.
2. Select the object you want to import, most likely it will be Sales Receipt.
Note: If you have several types of transactions in the file, please separate them into several sheets and upload them one by one.

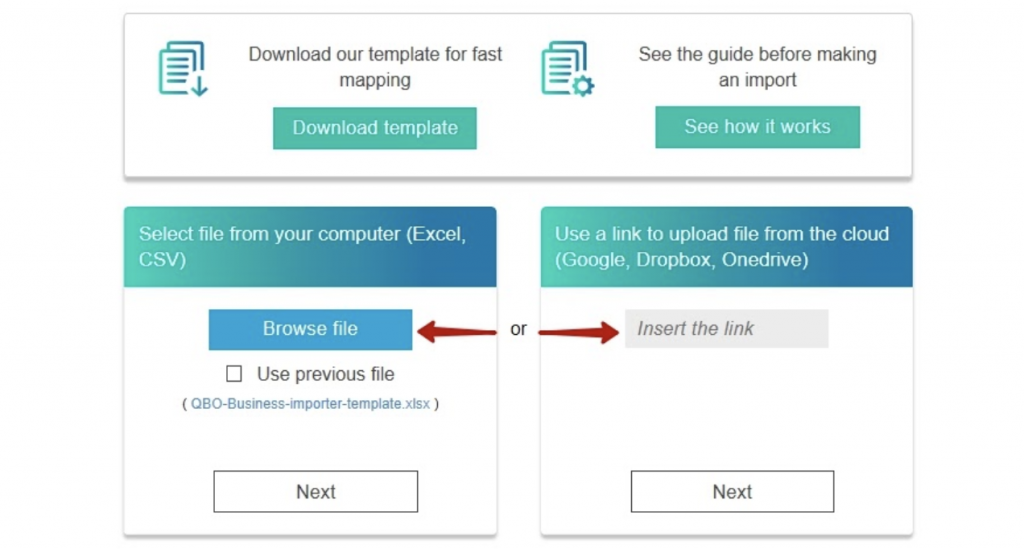
3. Choose your .csv or .xlsx file from the local drive or provide the link to cloud storage where the file is located.
Map PayPal data to QuickBooks Online fields
On the mapping step you are to connect columns of your file to QuickBooks fields. If you use our template and copy your data in there, then the mapping step will be automatically completed.
Otherwise, you would need to connect QuickBooks fields (Provider labels) to column headings from your own exported file (Your Labels).
In order to make this process easier for you, there is a Mapping Helper button that will show how a Provider’s label is seen in QuickBooks Online.

Preview data before importing
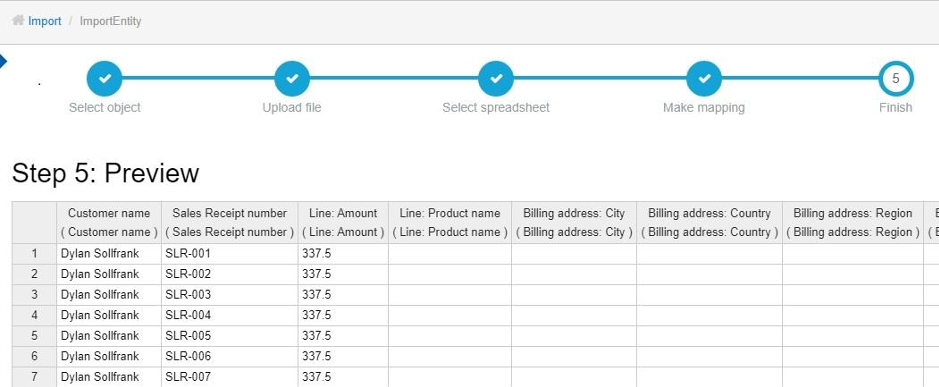
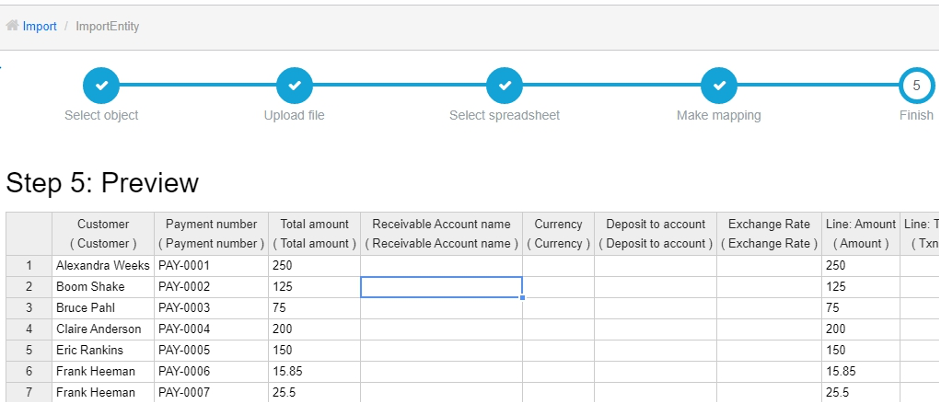
After everything is set up, you can start importing right away by clicking either of the Start Import or Next buttons and get to the preview screen where you can review and edit your data. See the screenshots in a slider.
Import Results in QuickBooks Online
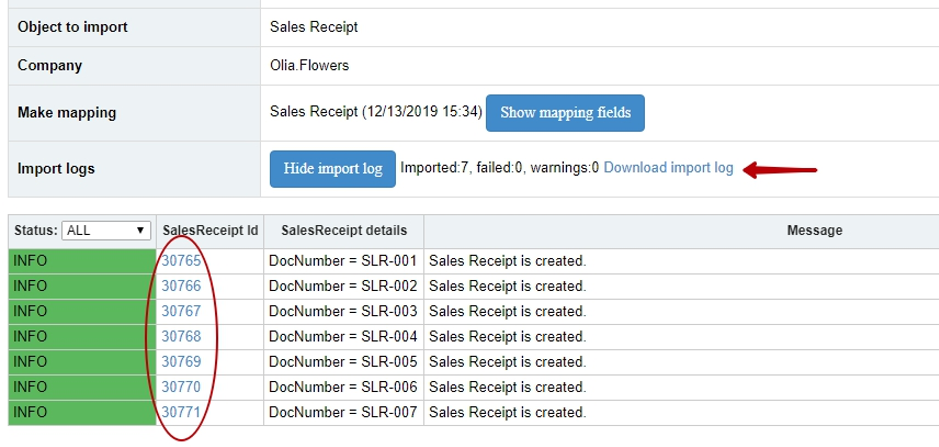
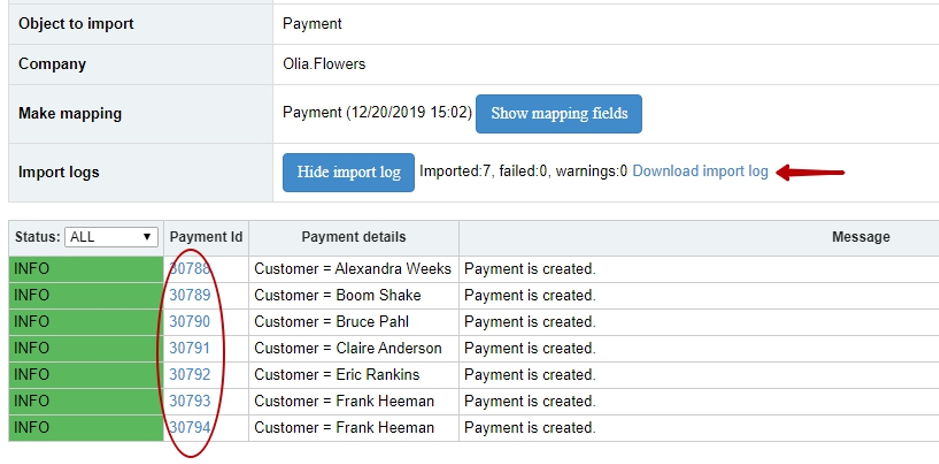
When you are happy with how it all looks on the preview, please click Start import and it will take you to the processing screen where the import progress and its results can be seen.
An import log can be downloaded here by clicking the field pointed to by the red arrow on the screenshots below.
You can get to the import result just by clicking the blue clickable ID number which will take you to QuickBooks Online where the import data is stored.
Please note, that as soon as the import has started you can close the app or even switch off your PC — the process will be finished automatically. You can get to the result of the import any time by clicking Imports History in the main menu.
Useful tips for importing PayPal transactions into QuickBooks Online
1. You can delete or revert the data you have just imported to make sure your book has not been made a mess.
2. PayPal exporting system would create a document with all the payments, expenses and fees gathered in a single file. You can use Filters option for an Excel/CSV file for the column with types of transactions. Once you filter transactions of one sort (like Invoices, Invoice Payments, Expenses…) copy them to the new sheet. Thus you will separate your entities into different sheets quickly and easily.
3. There is a possibility to upload your input data to a cloud storage (e.g. Google Drive) to be able to make a scheduled import or just import from outside of your desktop.
Remember: if you have any questions you can address them to us. We’ll be glad to help you!
Just leave us a message filling out our contact form or use the phone/email mentioned in the footer of every page.
Comments open