Linking Received Payment to Invoice
Business Importer Desktop
Overview:
-
Link using the invoice number
-
Automatic link to open invoice
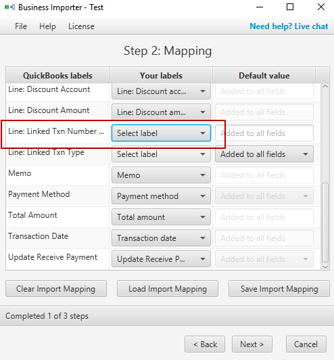
Link using the invoice number
Step 1:
Select your import file and sheet in case you have several, and set ReceivePayment transaction type for import.

Step 2:
Map (connect) QuickBooks fields with the headings of the columns from your import file.
Note: Red fields are required. You can also save the mapping for all subsequent imports, if needed, clicking Save Import Mapping button.

Step 3:
Preview your file clicking Next to make sure you mapped all fields needed and then click Start Import to initiate the import.
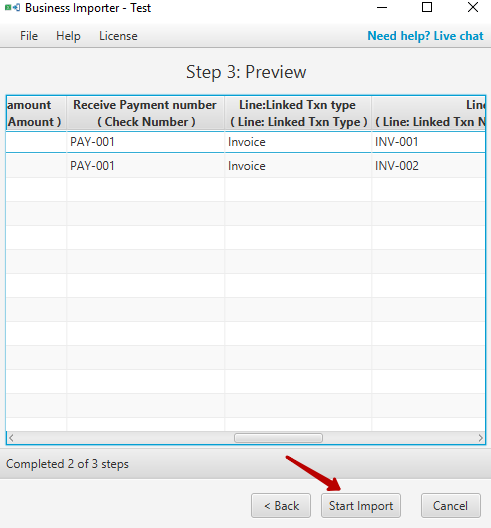
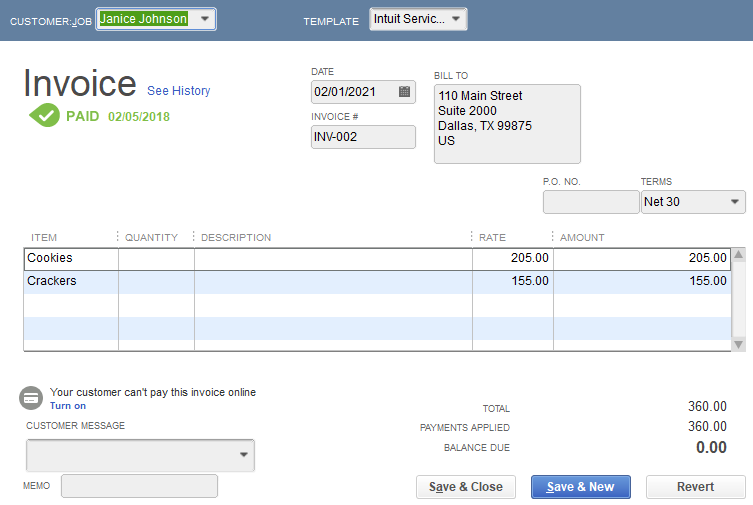
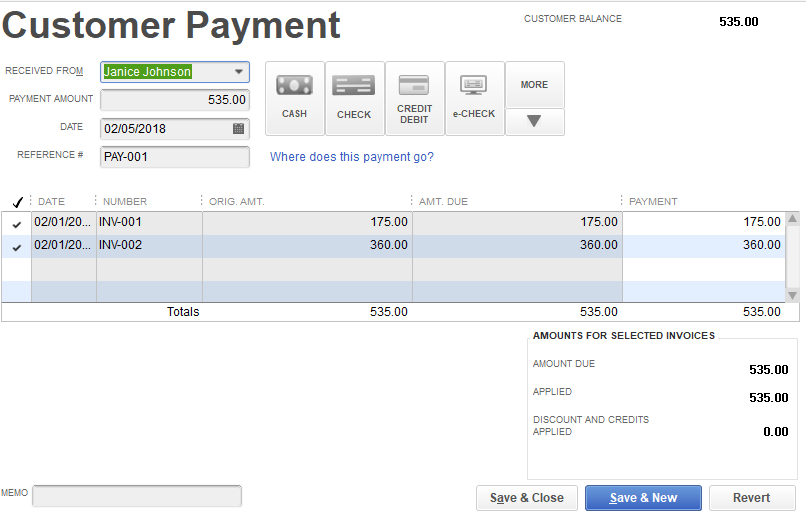
Congratulations! You have imported Invoice Payment to QuickBooks and applied it to the existing invoice.
Import Results
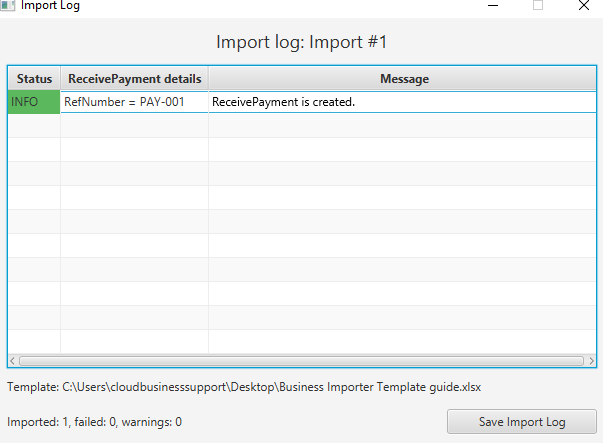
Possible variants of results in the app

Results of the import in your QuickBooks
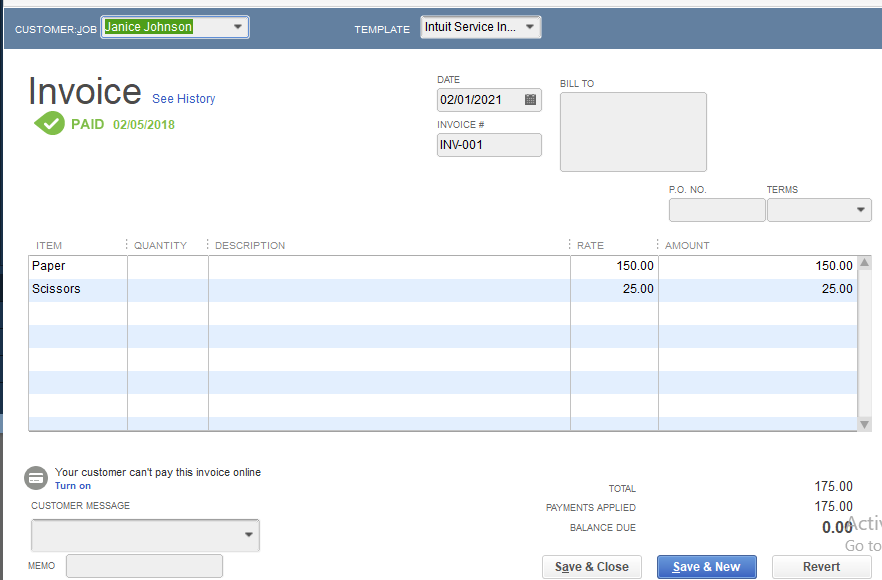
Received Payment
Automatic link to open invoice
In case you import payment with no invoice number to find the linked invoice, the app will locate all open invoices for a particular customer and apply a payment to open invoices chronologically.

Comments open